

How To Draw Your Own Logo In Photoshop
How to Make a Logo in Photoshop: The Practical Tutorial for Everyone
When designing something on your own, it'due south ever best to proceed things simple. Luckily when it comes to creating a logo, simpler is e'er ameliorate anyway. Today, we will be looking at how to make a logo in Photoshop using nothing only default shapes and simple text.
The logo will be built using uncomplicated shapes and paths, then you lot can modify its color, place it on any document, or fifty-fifty add together furnishings similar drop shadows and gradients. Making a logo in Photoshop has never been easier. Then let's get started!

Step 1: Create a Simple Groundwork
Starting time, let'southward create a new canvas. The size doesn't matter as the logo will be a resizable shape in the end. You lot'll exist able to make it as minor or as large as you might need, without having to worry about pixelation or blurriness.
Before making a logo in Photoshop, nosotros are going to create a quick base background.
Permit's create a Color Fill layer, filling information technology with a light tan color.
Once created, Right-Click > Catechumen to Smart Object.
Converting this make full layer into a smart object will allow us to add adjustable filters to it, while notwithstanding retaining its ability to modify colour.
Simply double-click on the smart object to open the original Fill layer.

Side by side, allow's go to Filter > Camera Raw Filter.
Locate the Effects tab, and add a modest amount of Grain. Just plenty Grain to add some texture to the background.
I fix mine to 25%, though you tin can add more than or less depending on your personal preferences.
Nosotros tin can printing Okay in one case we're happy.

Finally, let'southward finish upward the background past creating a new layer and setting that layer to Overlay.
At present, with a soft round brush, paint black on the corners of the canvas and white in the middle. This will create a vignette result.
Bring downwards the Opacity of the layer to 50% to lessen the issue. We want this to be very subtle.

Step 2: Create the Base of the Logo
With our background done, we can finally cover how to make a logo in Photoshop.
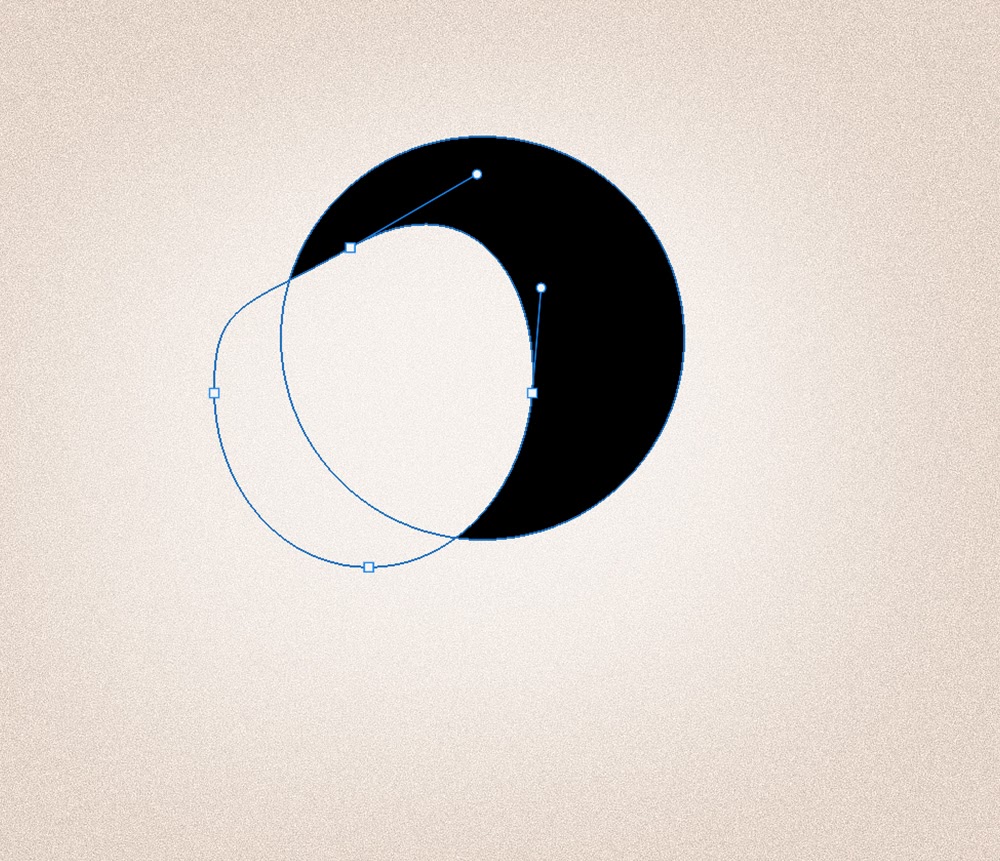
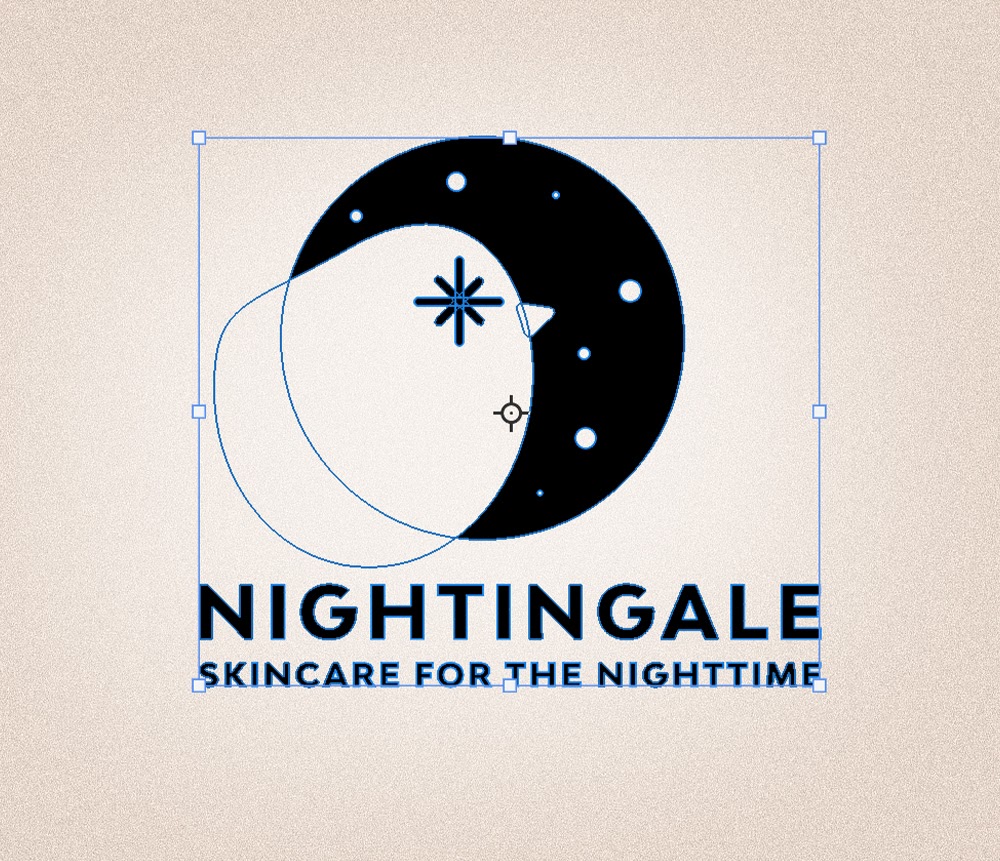
Allow's create the base of our logo using the Ellipse Shape tool to create a blackness circle.

Now, let's change our Path Operations, found in the upper Pinnacle Toolbar, from New Layer to Subtract Front Shape.
Create a second circle inside of the black circle, creating a crescent moon shape.
The new circle's path will decrease from the blackness circle.

We tin can adapt the placement of the circle path by choosing the Convert Signal tool found grouped with the Pen tool.
Click on the path'south line and and then elevate to move the path around.
Be careful not to click off of the path, as you can only drag and movement your path around right after you lot've created information technology.

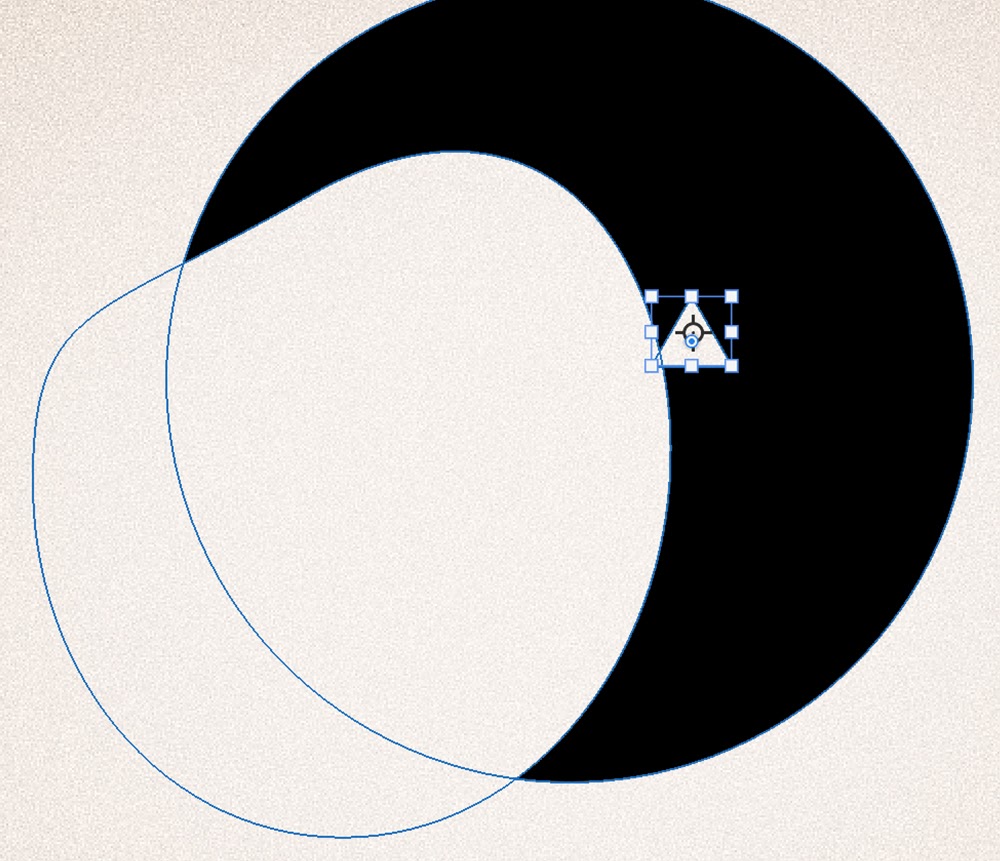
Pace 3: Adjust the Shape of the Paths
Once you are happy with the placement of the round path, click off the path and then dorsum on.
You'll notice how nosotros can no longer movement the path around, but we can affect its shape.
Requite it a try. Below is just an example of what happens when I pull on the anchors of the path.
Paths are best learned through trial and error, and so experience gratuitous to Ctrl+Z to disengage oftentimes. The paths are the trickiest part when trying to learn how to brand a logo in Photoshop, but stick with information technology, and y'all'll get the hang of them.

And then now, permit's create our actual bird'south body shape.
Pull downwardly on the upper left path line to make the back of the bird.
Too slightly elongate the upper right expanse by clicking and dragging on the path line. This will create a caput shape.
Do note, you should be dragging on the path lines, non the anchors.
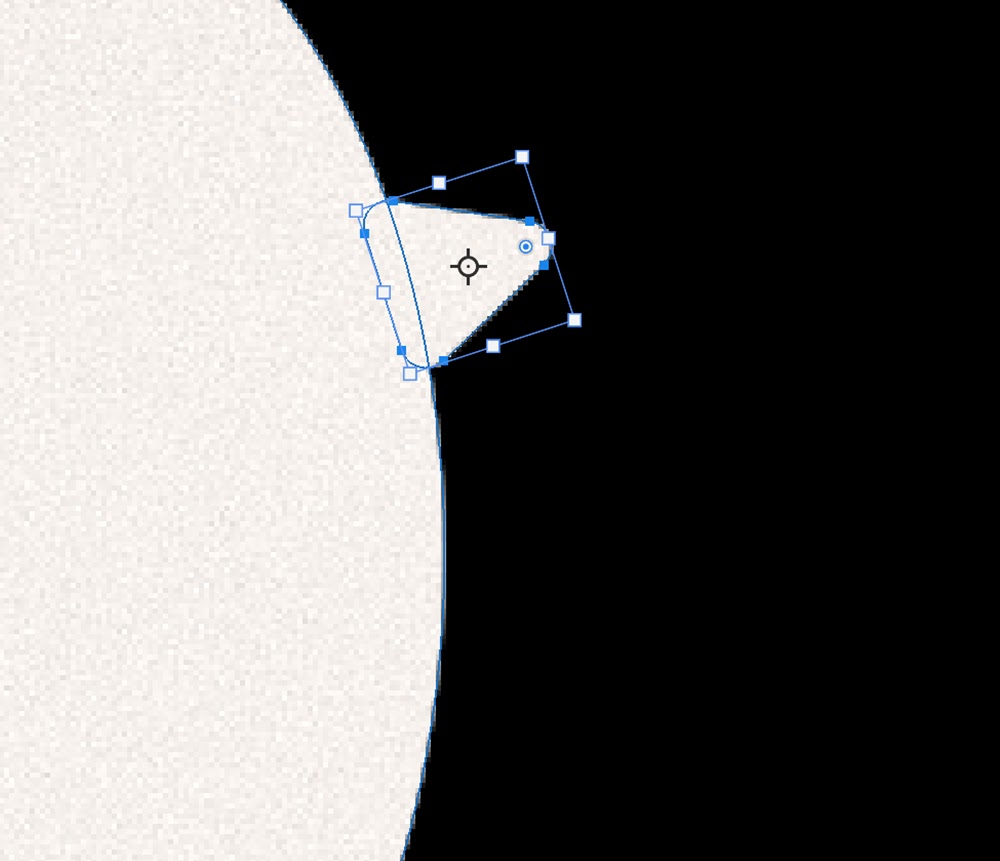
Stride 4: Combine Simple Shapes
One time happy with the body, select the Triangle Shape tool.
Once more, modify the Path Operations from New Layer to Subtract Front Shape. This will reset each time, then brand sure and double-check it's set to the correct setting.
Create a pocket-sized triangle path right side by side to the body.
Now, let'due south utilise the transform controls to angle and rotate the triangle into a pecker.
You can likewise elongate the nib by holding Shift then stretching horizontally using the transform controls.
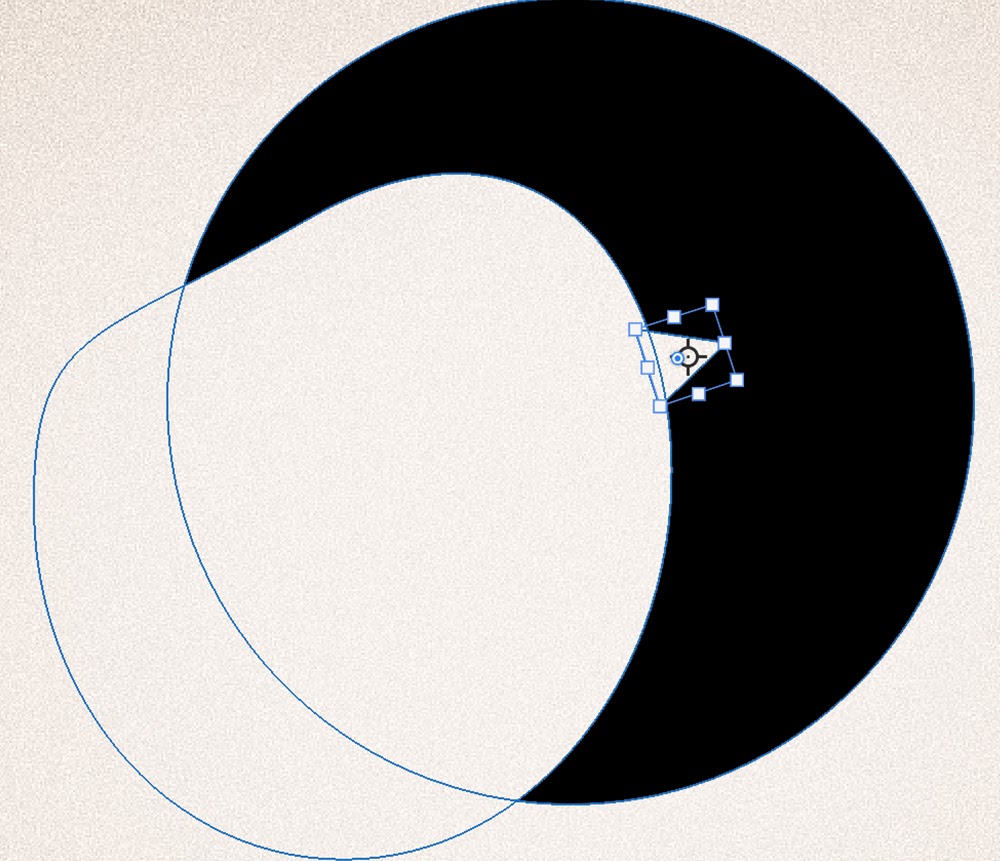
The triangle will have a small pivot towards the tip.
Click and pull down on it to round the corners of the triangle.
Next, allow's select the Ellipse Shape tool, once more setting information technology to Subtract Front Shape, and create modest dots of stars over the black background shape.
Concord Shift to create a perfect circumvolve, but brand sure to let go of Shift in between creating circles.

Step 5: Add Smaller Details
With the master base of operations of the logo done, we can add some final shapes.
Create a new layer, and select the Rectangle Shape tool.
In the upper top toolbar, set the Radius of Rounded Corners to around thirty pixels. This may need to be higher, depending on the size of your certificate.
Create a long black rectangle anywhere on the canvas. The final shape will eventually be placed over the eye areas, just you will be able to move the shape after we build it.
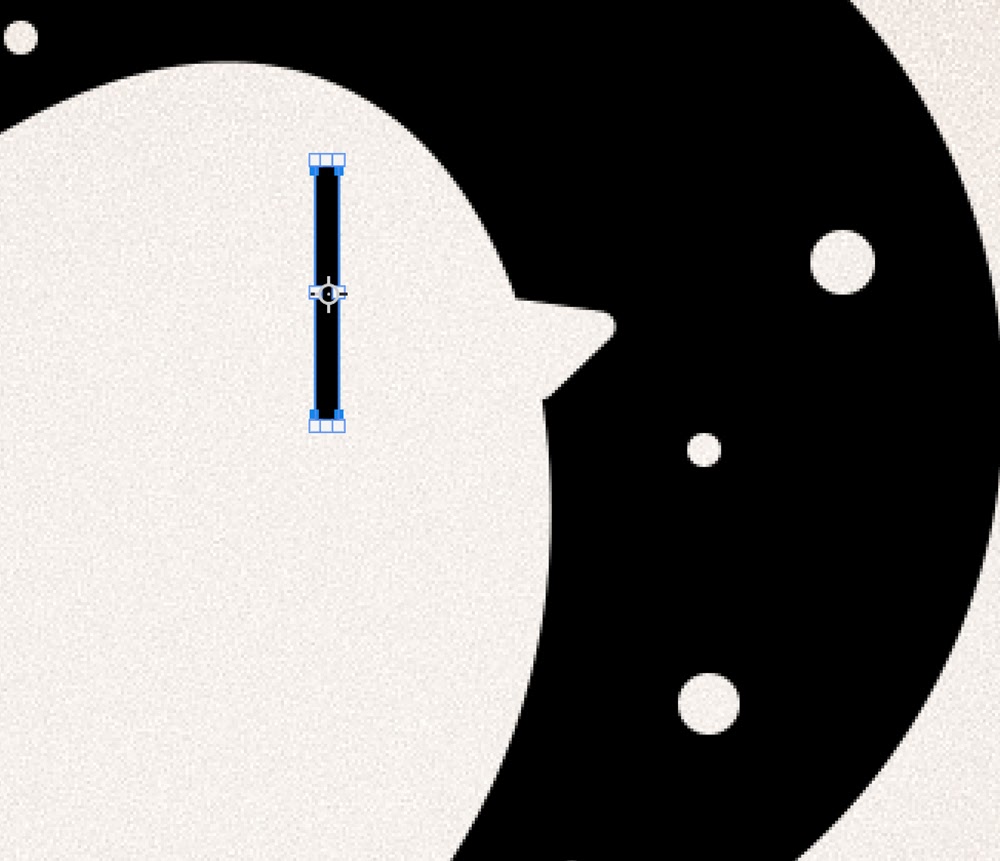
Duplicate the rectangle layer, flipping it horizontally, creating a plus sign shape.

Duplicate the rectangle shape over again, and identify the new duplicate on an angle.
Yous tin hold Shift while y'all rotate a shape to make it snap to gear up angle degrees. Agree Shift to shorten the rectangle shape likewise.
Brand certain all of your lines are centered and intersect.

Duplicate the angled rectangle and flip it horizontally so that it is facing the opposite management of its original.

Footstep half-dozen: Merge Shapes
Select all of your rectangle layers and and so Correct-Click > Merge Shapes.
This will combine each shape into one. Brand sure to make any concluding adjustment to placement and size earlier merging the shapes, as they will exist harder to adjust from here on out.

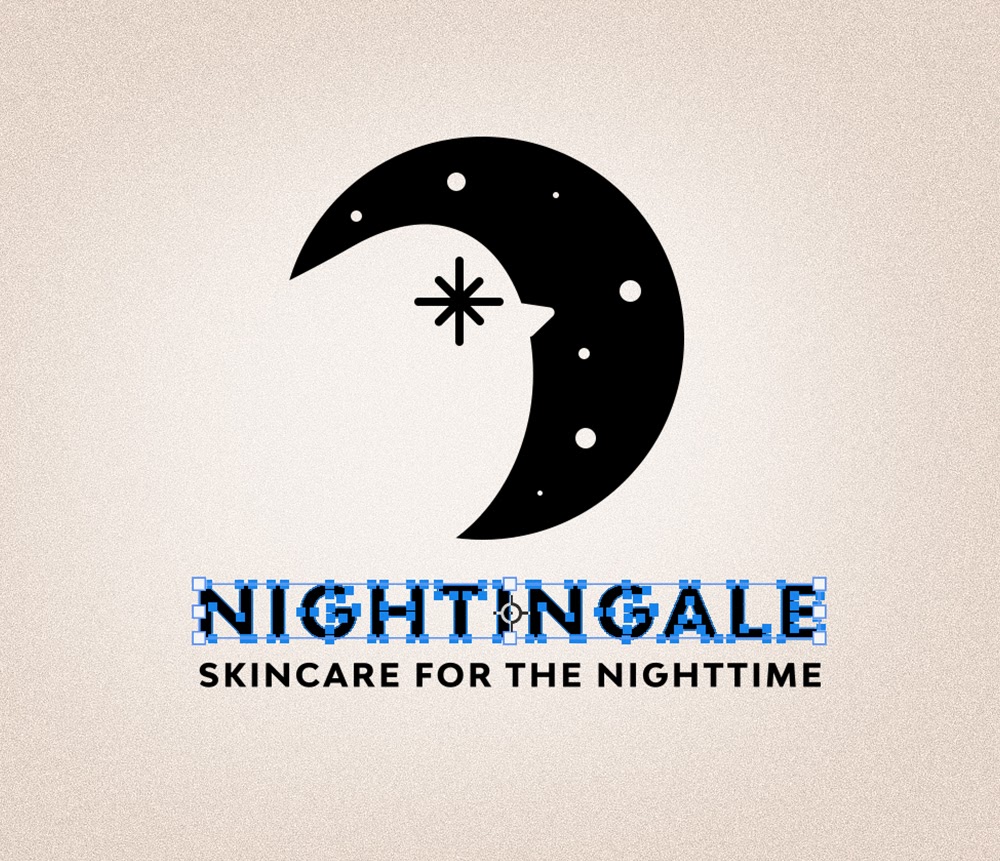
Step 7: Add Text
Now, onto the Text. When choosing a font for your logo, readability is cardinal.
Something assuming, sans-serif, and in all caps tends to be the most readable even from far away distances. Which is what y'all want in a logo.
I'll be using the Bw Modelica in Actress Assuming from Adobe Fonts for my master text. This is a smashing font to employ for logos every bit it offers multiple font weights ranging from very thin, to very bold.
Effort mixing and matching font weights for a less minimal appearance.
Next, I am going to add a spacing of 100, and then the messages have a bit of animate room.
Adding spacing will as well add to its readability.
And to continue to go along things minimal, I suggest trying to employ the aforementioned font way for the tag line equally y'all did for your company proper noun.
Only in a smaller font every bit it'due south less of import than the company name.

One time happy with your text, select both text layers then Right-Click > Catechumen to Shape.
The text layers are now shape layers. You lot can no longer type in new text once converted to a shape layer, so make sure your text is correct before converting.
Finally, we are going to select all of our shape layers and practice i last Right-Click > Merge Shapes.
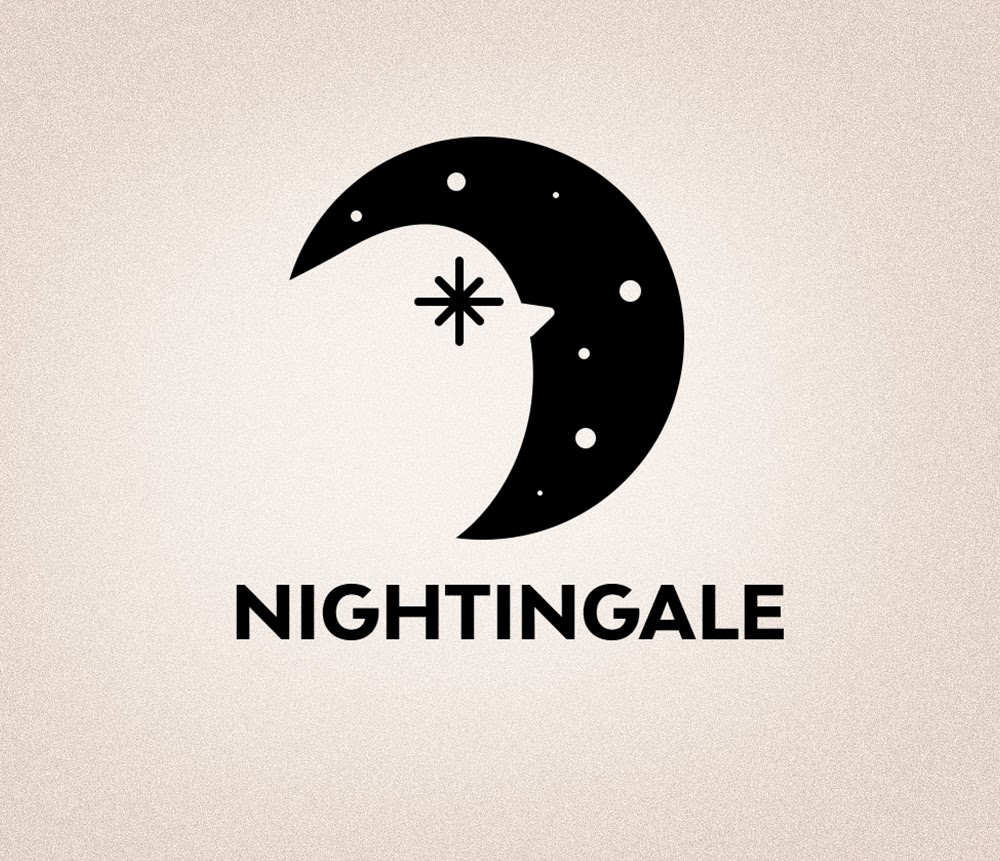
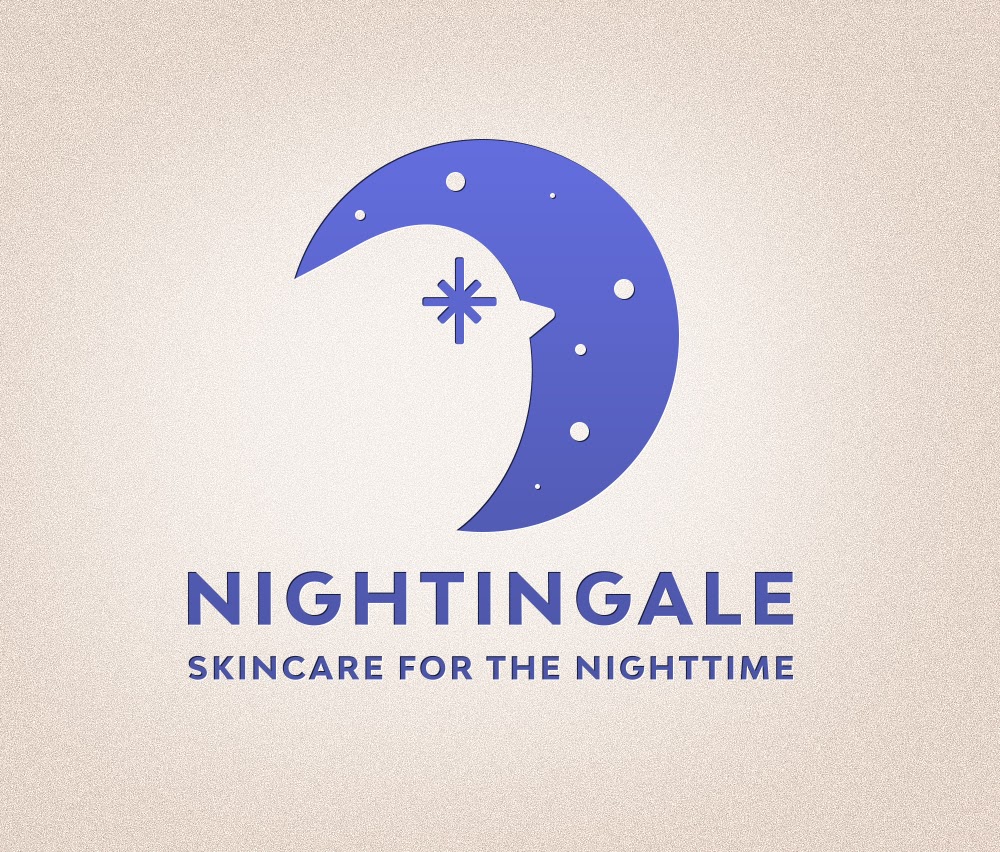
Your logo is now one shape.
Pace viii: Create Multiple Versions of Your Logo
Now that your logo is ane solid shape layer, you tin can add together layer styles, gradients, and more than.
You can besides suit its size without losing whatsoever quality, also as modify its color past double-clicking on its layer. Just as you lot would whatever shape layer.
Conclusion
Making a logo in Photoshop may seem similar a daunting task, but you tin can make all kinds of custom designs using nothing but elementary default shapes and paths.
Remember to continue things simple, and, when in uncertainty, just undo and endeavor over again.
Make sure your text is legible, even when it's pocket-size, and don't be afraid to play with gradients or even drib shadows to create a few different versions of your logo.
I hope you've enjoyed learning how to make a logo in Photoshop today, and I hope to meet your designs out in the earth!

Source: https://www.designbombs.com/how-to-make-a-logo-in-photoshop/
Posted by: boydvividem.blogspot.com
0 Response to "How To Draw Your Own Logo In Photoshop"
Post a Comment